Three years ago, I tried false lashes for the first time. And honestly? I had no clue what I was doing. I stood in front of the mirror, holding lashes in one hand and glue in the other, just totally confused. I kept seeing girls on Instagram and TikTok with those perfect, big, awake eyes, and I really wanted that look too.
But it went so wrong. Glue was everywhere, the lashes wouldn’t stay, and I just looked messy. If you’ve ever messed up falsies, you know exactly how that feels.
So today I wanna share my whole journey — all the mistakes I made and what I learned — so you don’t have to struggle the same way.
I love false lashes ‘cause my real ones are short, straight, and super thin. Mascara only helps a little, not much at all.
On days I’m tired, going out, or just wanna look nicer, falsies are my first choice. They make my eyes look bigger instantly, and even simple makeup looks way more finished.
Each has its good and bad sides, and each works better for different situations and different people.
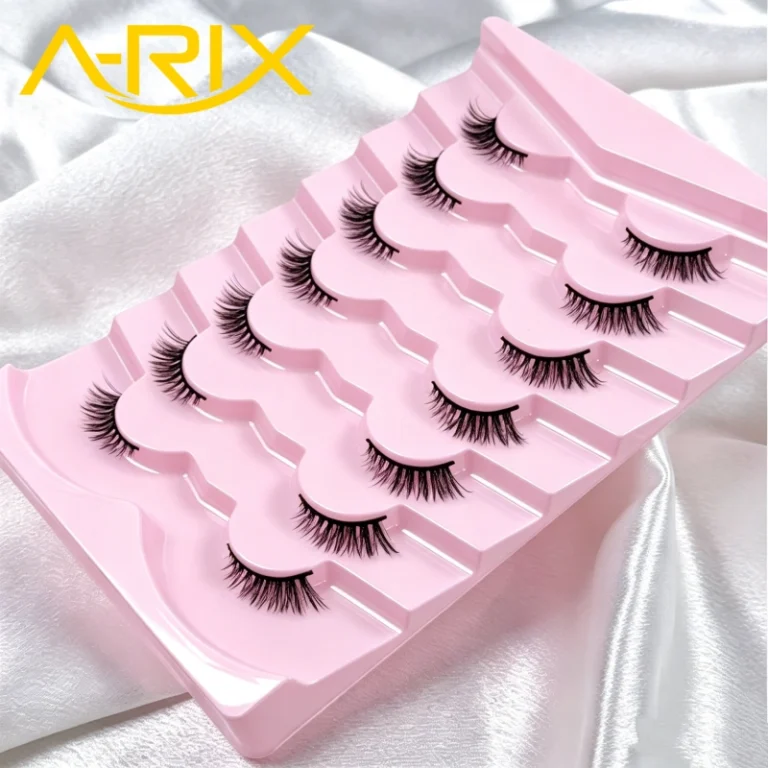
I started with strip lashes ‘cause they’re easy to find, cheap, and not too hard to apply (once you practice). My first mistake was picking strip lashes that were too thick and long for my small eyes. They weighed my lids down, looked fake, and kept falling off ‘cause they didn’t fit. Now I stick to strip lashes with a thin, flexible band—they’re comfier, easier to trim to fit my eye, and blend with my natural lashes better. My favorites are from WOSADO and MLEN DIARY—they’re light, reusable, and have just enough volume for everyday. Pro tip: If you’re new, start with natural or wispy styles—they’re easier to get right than dramatic ones.
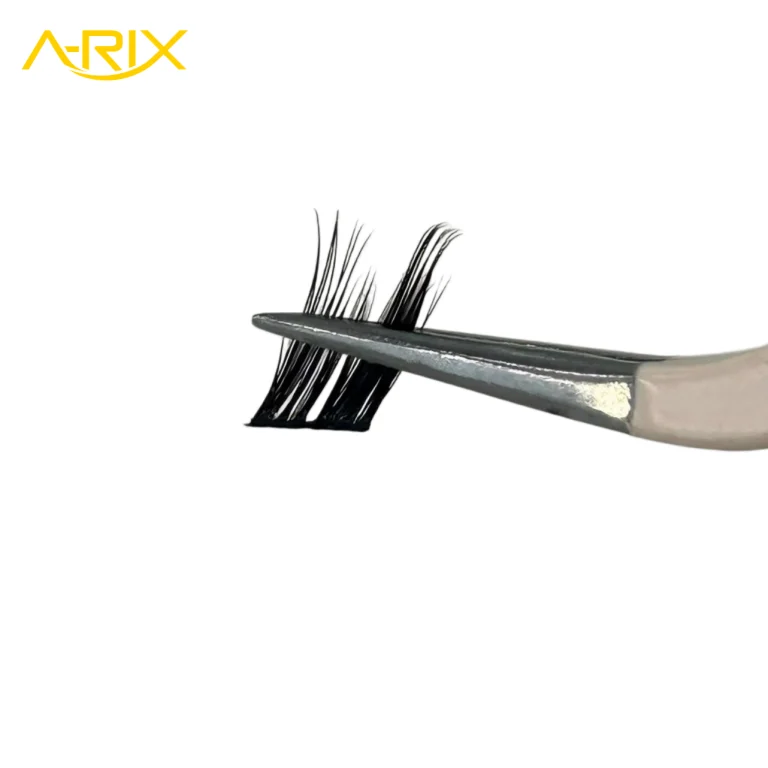
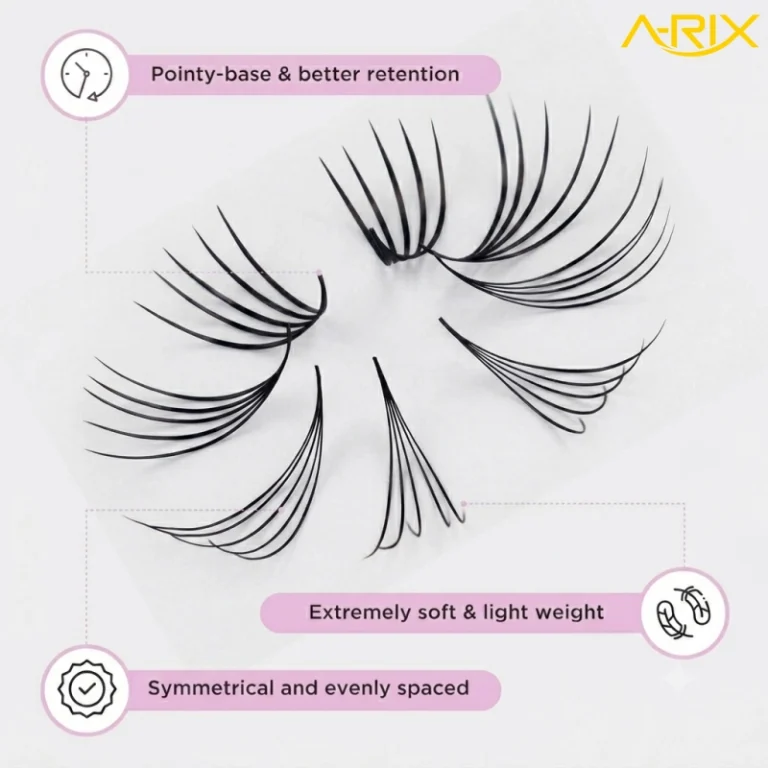
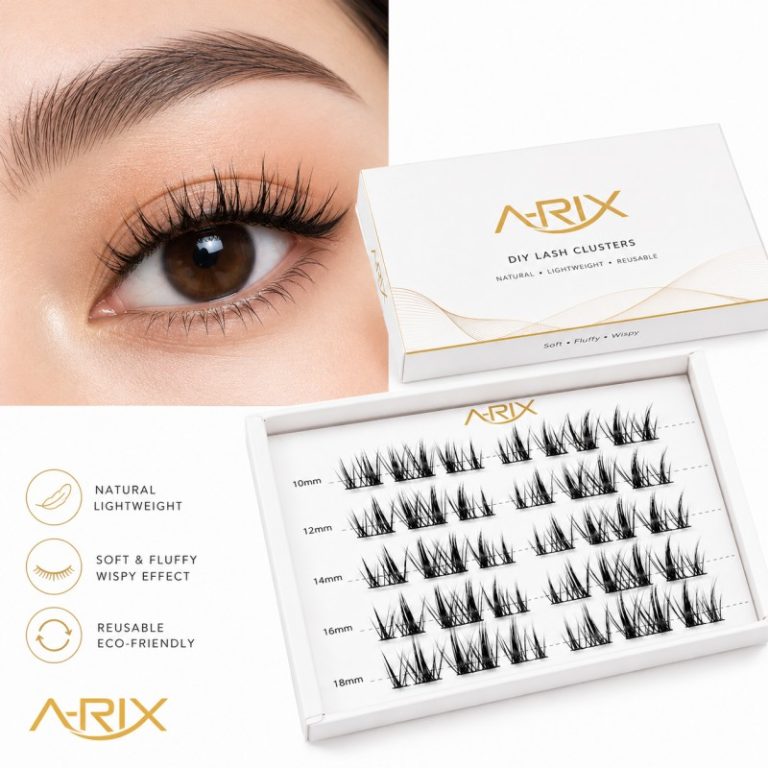
Individual clusters are another option, and they’re perfect if you wanna customize your look. Instead of one band, they’re small groups of lashes you put on one by one. They look more natural than strip lashes ‘cause they’re like real lashes—some short, some long. I use them for special events, like weddings or date nights. They give me volume exactly where I want it — mostly the outer corners, for a cat-eye effect. But they take more time, so you gotta be patient.
I remember my first time trying clusters. I spent 45 minutes just trying to make them stick, and they still looked uneven. I had to take them off and redo everything. But practice makes perfect! Now I can do it in 15 minutes.
If you’re new to clusters, start with a small pack — usually between 8mm and 12mm. Just apply them on the outer half of your lash line. It’s easier and looks super natural.
Then there are magnetic lashes — the no-glue ones that blew up recently. I was doubtful at first. How can lashes stay on without glue? I tried them, and I’m kinda in the middle about them.
They use tiny magnets, usually two per lash, that clamp right over your real lashes.
They’re easy to apply once you get the hang of it, and good if you have sensitive eyes or are allergic to lash glue. But they have downsides: they can be heavy, don’t always stay on (especially if you sweat or rub your eyes), and they can mess with MRI scans—I didn’t know that till I read a news article.
Now, lash glue—the most important part, even though no one talks about it. I’ve ruined so many good lashes ‘cause I used the wrong glue. When I started, I used cheap clear glue that dried white and flaked off all day. It was a mess—by the end of the day, I had glue on my cheeks and one lash hanging off. Now I only use good quality, latex-free glue (my skin is sensitive, so latex bugs me) that dries clear. Here’s the super casual, simple, spoken English version you wanted — keeps all your points, sounds like a real girl talking:
I also use black glue when I want more definition — it blends with my eyeliner so you can’t even see the lash band.
Pro tip: Always test new glue on the back of your hand first, wait 24 hours to make sure you’re not allergic. I learned this the hard way. I used a new glue without testing, and my eyelids swelled up like pillows for two days. Not cute at all.
Putting on false lashes is where most people mess up — and I was the same. I practiced for months and made every mistake: too much glue, putting lashes way too close to my lash line, not waiting for the glue to get sticky first.
But I found a step-by-step routine that actually works, and I’m gonna share it with you.
Step 1: Prep your real lashes. Curl them and put on one layer of mascara. This helps them mix with the fake lashes and makes your eyes look lifted. I also draw a little eyeliner on my lash line to hide the band — it looks way more natural.
Step 2: Trim the lashes to fit your eye. Most newbies skip this, but it’s so important. Fake lashes are usually way too long, so you have to cut them. Hold it up to your eye, mark where to cut (usually the inner corner — don’t cut too much, or they’ll look weird). Use small sharp scissors and cut the band at a small angle — it blends better.
Step 3: Put on the glue. Squeeze a little on your hand first (don’t put it straight on the band — you’ll use too much). Use a small brush or tweezers to put a thin layer on the whole band. Don’t use too much — it takes forever to dry and can get in your eyes.
Step 4: Wait till the glue gets sticky. This is the real hack. At first, I put lashes on right away, and they kept sliding. Now I wait — then they stick immediately and stay all day.
Step 5: Put the lashes on. Grab tweezers or a lash tool. First stick the middle part on your lash line, then press the inner and outer corners down. Hold it for 10-15 seconds so it stays good. If a corner pops up, add a little tiny bit of glue and press it again.
Let’s talk about mistakes you gotta avoid—I messed up all of these, so I know how annoying they are. First, don’t put fake lashes too close to your lash line—it bugs your eyes and feels weird. Second, don’t use too much glue—it’s messy and makes the lashes slide around. Third, don’t skip trimming—lashes that don’t fit look fake and fall off easy. Fourth, don’t yank falsies off—peel ’em gently. Fifth, don’t reuse lashes that are messed up—if the band’s broken or hairs are falling out, just throw ’em away.
Lots of people ask me: How do I pick the right falsies for my eye shape? Good question—right lashes make your eyes look better, wrong ones make ’em look small or droopy.
There are six common eye shapes, and each needs a different lash style:
Almond eyes: You’re lucky! You can wear almost any style. Try wispy, medium-length for everyday, or dramatic for special occasions.
Monolid eyes (no crease): Can wear more dramatic lashes—they add dimension. Look for ones longer in the outer corners to lift your eyes.
Downturned eyes (slant down): Need lashes that lift outer corners. Look for ones longer in the outer third—makes eyes look more upturned.
Prominent eyes (big and stick out): Need lightweight, not too heavy lashes—heavy ones make eyes look more prominent. Wispy, natural ones are best.
I also wanna talk about falsies vs. lash extensions—I’ve tried both, and I have strong opinions. Lash extensions are put on by a pro, one lash at a time, and last up to 6 weeks. They’re convenient—no need to apply them every day—and look natural. But they’re expensive (a full set is $164-$227), and you need refills every 3-4 weeks. They also need a lot of care—no water for 48 hours, don’t rub your eyes, no oil-based products. I got them once, loved how they looked, but hated the upkeep. My natural lashes got thin after I took them off ‘cause the glue can damage them if not applied right.
If you’re a beginner, don’t get discouraged. It takes time to get good at falsies—like any makeup skill. Start with simple, natural styles, practice your routine, and don’t be scared to mess up. Even the best beauty girls started somewhere. Once you get the hang of it, you’ll wonder how you lived without them.
To wrap up, here are my top picks—all tested by me:
Falsies: WOSADO Soft Magnetic (great for beginners), MLEN DIARY Wispy Strip (everyday), Ardell Individual Clusters (special occasions), 3CE Dramatic (night out). All are good quality and cheap.
Now I wanna hear from you! What’s your favorite lash style? Any tips for applying falsies? Leave a comment—I love hearing from you. If this helped, share it with your friends who struggle with falsies. Happy lashing!