A custom eyelash box can look polished on a screen and still fail once the real product is packed. The tray may slide, the lid can press the lash tips, a drawer may catch, or finished boxes may rub inside the shipping carton. Those problems become expensive after artwork, materials, and packing quantities are already approved.
When comparing false eyelashes container manufacturers, treat the box as a working packaging system rather than a decoration. The exact lashes, tray, insert, closure, print, barcode, inner carton, and outer carton need to work together. A physical sample is the control point; the artwork file alone is not.
A-RIX supports eyelash manufacturing, private label, OEM/ODM, and packaging coordination. Packaging options include cards, plastic components, trays, outer boxes, instructions, and shipping cartons depending on the project. The eight checks below turn those options into a practical pre-production review.
Checks 1 and 2: Box Structure and Lash Fit
Start with the packed product. A visually attractive box is still the wrong box if the tray bends, the lash tips touch the lid, or the insert allows the product to move during handling.
Check 1: Confirm the Usable Internal Dimensions
Measure internal length, width, and depth rather than relying on the outside size. Include the actual tray, insert, pull tab, instruction card, and any accessories. Close the package normally and look for pressure on the lash tips, band, or tray. Record the acceptable fit range instead of approving one prototype that happens to close.
Check 2: Test Tray Retention and Removal
Tilt and handle the box as a customer or store employee would. The tray should stay controlled without being so tight that it tears the carton or bends during removal. Repeat the test on several samples; ribbons, sleeves, drawers, and magnetic formats all need to be checked with the final tray.
Record a Measurable Approved Construction
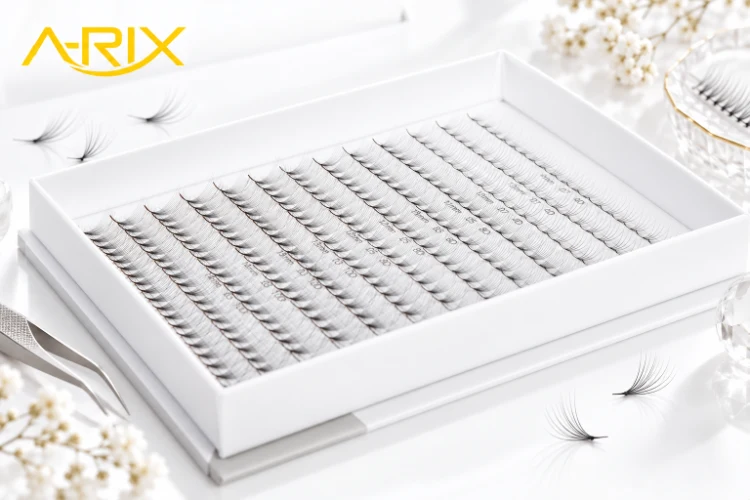
Photograph the sample open and closed and write down the box style, internal dimensions, material grade, insert construction, closure, and tray code. For larger extension trays, the rigid cardboard magnetic box for large premade fan trays provides a specific construction to evaluate rather than a generic request for a “premium box.”
Checks 3 and 4: Materials and Closure
Material choice changes appearance, stiffness, print behavior, shipping volume, and cost. Approve a finished sample made with the intended substrate and finish; a mock-up in a similar board is useful for shape, but it is not a final production reference.
Check 3: Verify Material and Surface Finish
Confirm the substrate, thickness or grade, surface texture, coating, edge finish, and visible color. Inspect corners, folds, glue areas, and any window. Environmental or material claims need separate support; appearance alone does not prove recyclability or other performance.
The existing overview of popular custom eyelash boxes is useful when you need to compare common box formats. Use it for structure ideas, then return to the exact lash product, channel, and packing method before selecting the final construction.
Check 4: Repeat the Opening and Closing Test
Open and close the sample repeatedly. Watch for sleeves tightening, drawers catching, tabs tearing, magnets misaligning, or printed surfaces rubbing. The closure should protect the product without making routine store inspection difficult.
Checks 5 and 6: Print, Barcode, and Market Information
Packaging artwork is not finished when the logo looks right on a monitor. Color references, small text, registration, foil details, barcode placement, and required market information all have to survive printing on the real material.
Check 5: Approve Color and Print Details on the Final Material
Specify the color reference system used by the printer and identify the physical proof that will become the standard. Review solid areas, gradients, fine lines, foil or hot-stamp details, coating, and registration. Paper, plastic, and a computer display will not match automatically, so sign and date the proof when color is commercially important.
Check 6: Review Text, SKU, and Barcode Placement
Proofread the product name, lash specification, quantity, directions, warnings, company information, barcode, SKU, and required language versions. Keep key text away from folds, glue zones, magnets, and windows, and scan the barcode at final size on the final material.
Build Lash Quality Control into Packaging Approval
Packaging is part of lash quality control, not a separate design exercise. A stable SKU or order code should connect the finished box to the lash specification and production record. If the right lashes are packed into the wrong tray or the correct tray receives the wrong label, the customer still receives the wrong product.
Checks 7 and 8: Packed Product and Shipping
The last two checks move beyond the empty box. Review the complete retail unit and the carton system that carries it through storage and transport.
Check 7: Inspect the Fully Packed Unit
Pack the exact lashes, tray, insert, instructions, and accessories. Check alignment, rattling, pressure points, visible dust, glue marks, scratches, and the way the product presents through any window. The customizable premade fan magnetic package should therefore be approved together with the intended tray, not as an empty package sample.
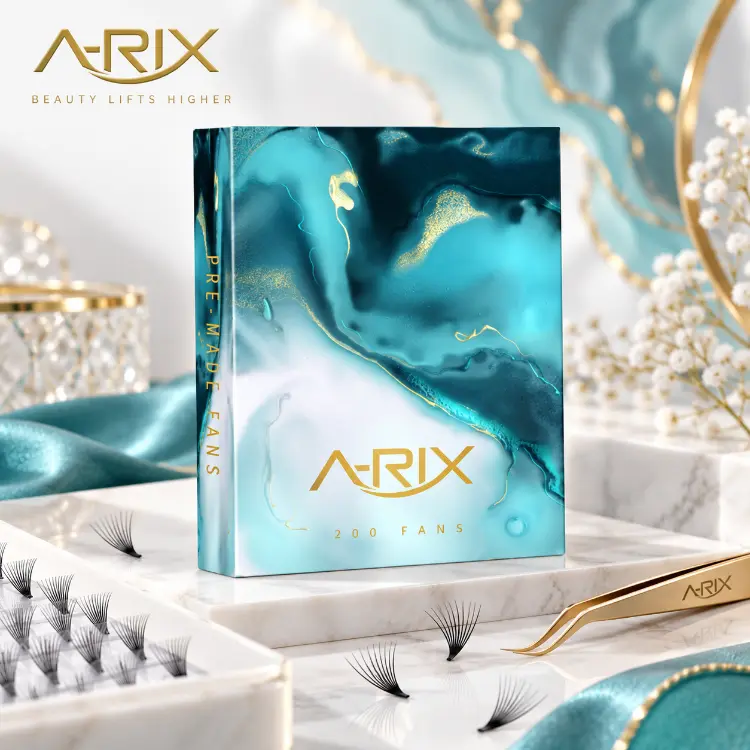
Check 8: Confirm Carton Packing and Transport Protection
Request units per inner and outer carton, protective material, carton dimensions, gross weight, and marks. Check whether retail boxes can rub, open, or crush under expected handling. Agree on a suitable pre-shipment inspection or packaging test plan for the route instead of relying on a universal drop-test claim.
Use a Receiving Sample Plan
When the shipment arrives, sample units from different cartons and positions. Compare dimensions, closure, print, color, tray fit, packed product condition, and labels with the retained approved sample. Photograph recurring defects and record the order code for traceability.
Turn the Eight Checks into a Private Label Workflow
The checks become much more useful when every approval has an owner, a dated sample, and a written record. That turns packaging from a series of design decisions into a repeatable purchasing process.
Send a Complete Packaging Brief
Provide product and tray dimensions, box structure, material direction, finish, artwork files, language requirements, barcode, quantity range, sales channel, carton request, and timing. Mark which points are fixed and which are open to supplier recommendation. The A-RIX product range helps connect the packaging discussion to the exact lash format being packed.
Brands comparing private label lash suppliers should also check whether product specifications and custom packaging are controlled in the same approval flow. A packaging vendor can produce a beautiful box, but the final result still fails if the tray code, lash style, or artwork version is not synchronized with production.
Approve Samples in the Right Sequence
Approve structure and fit first. Then lock material and closure. Only after those are stable should you approve print, barcode placement, and carton packing. This order avoids reworking artwork because the dieline changed late in sampling. Use the A-RIX service page to confirm the current sample stages, printing methods, packaging options, and commercial requirements for the project.
Freeze the Production Version
Keep one approval record containing the packed sample, dimensions, material specification, print reference, artwork version, carton plan, and order code. Any later change should create a new version. Share the record with design, purchasing, and receiving so supplier feedback stays tied to the same production standard.
Conclusion
Custom eyelash boxes should be approved as complete packaging systems. Confirm internal fit, tray retention, material, closure, print, information, the packed unit, and shipping protection before bulk production, then keep a version-controlled physical sample for reorders. Use the contact page to discuss the exact box, tray, artwork, sample sequence, and packing plan with A-RIX.
FAQs
What Size Should a Custom Eyelash Box Be?
The correct size is the one that fits the exact tray, lashes, inserts, and accessories within an agreed manufacturing tolerance. Approve the usable internal dimensions on a fully packed physical sample rather than choosing from external dimensions alone.
What Should Buyers Ask False Eyelashes Container Manufacturers to Provide?
Ask for the finished sample, internal dimensions, material specification, closure details, print method, barcode location, carton plan, and a clear version or order code. Those details make repeat orders easier to inspect and trace.
Are Magnetic Eyelash Boxes Suitable for Bulk Orders?
They can support a rigid retail presentation, but the closure alignment, material, tray fit, packing volume, freight impact, and production consistency still need to be approved on real samples.
When Should Packaging Artwork Be Approved?
Approve final artwork after the physical structure, dimensions, material, and closure are stable. If the dieline changes after artwork approval, text, barcode placement, windows, or foil details may need to be rebuilt.
What Should Be Kept for a Repeat Packaging Order?
Keep the approved packed sample, dieline, artwork files, internal dimensions, material and finish specification, print reference, carton plan, order code, and dated approval record. That package becomes the objective reference for receiving and reorders.